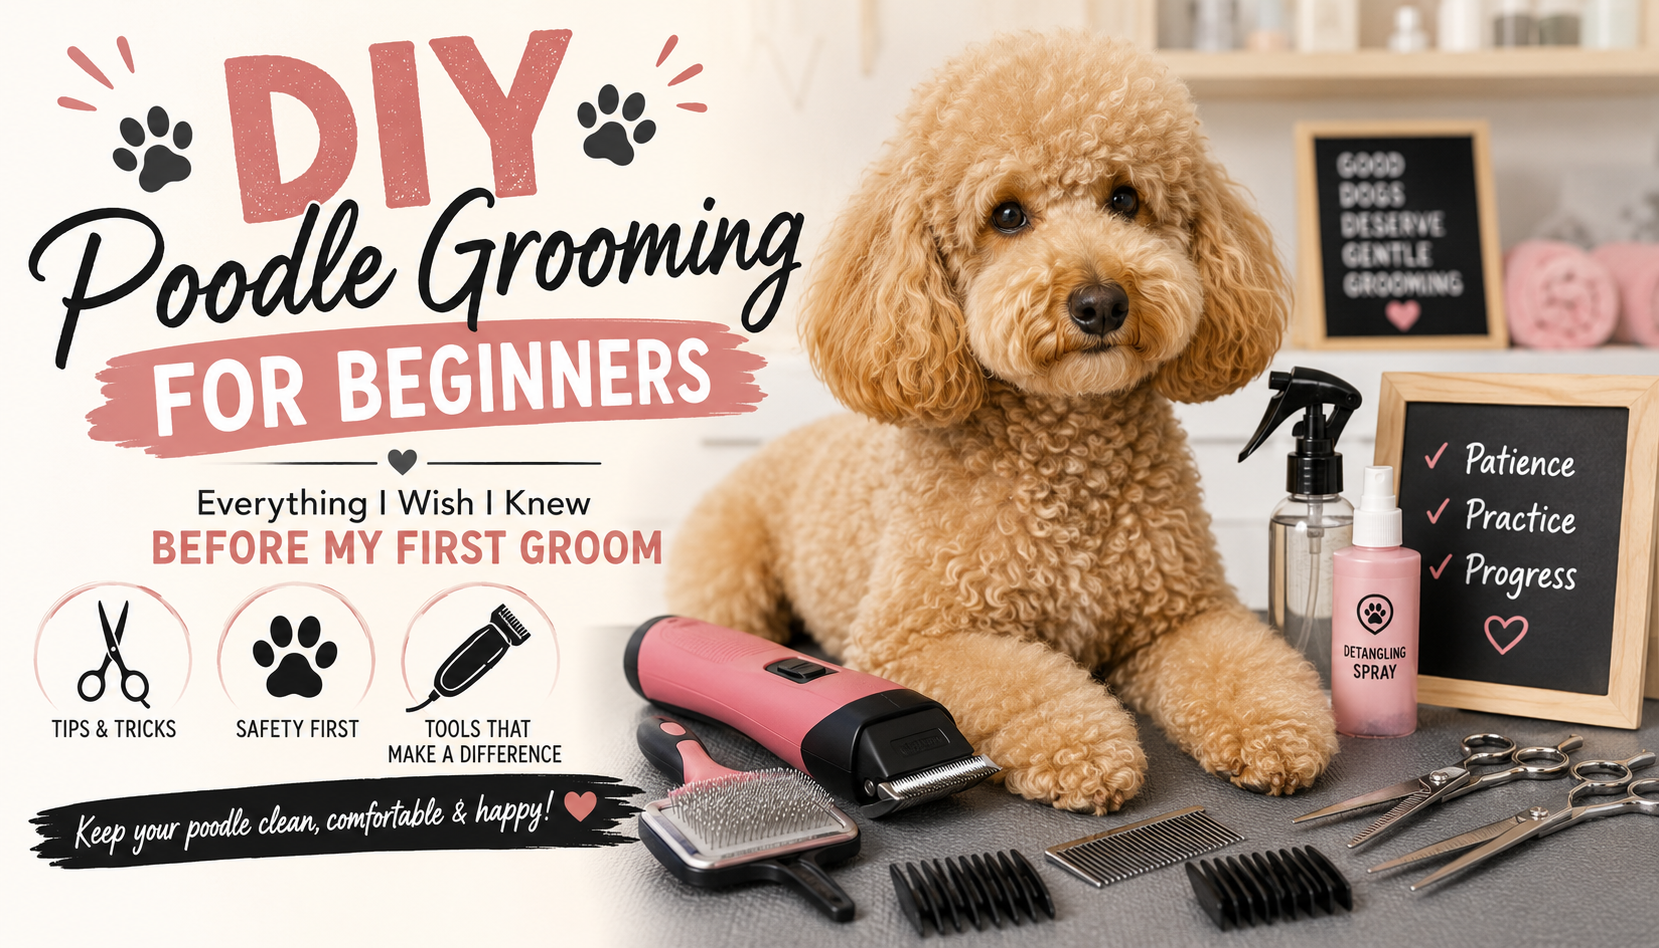
Thinking about grooming your poodle or doodle at home? Learn from my mistakes, discover tips that made a huge difference, and keep your dog safe while building confidence.
Confession: My First Groom Was a Disaster
Six years ago, before the thought of becoming a groomer had even entered my head, I decided to groom my own poodle.
I didn’t watch a single YouTube video. I didn’t read any tutorials. I didn’t ask for advice.
I grabbed a pair of Walmart clippers, sat down on my kitchen floor, and started cutting.
I clipped in every direction imaginable. I tried forcing a guard comb through a dirty, matted coat. I skipped the bath completely because I didn’t realize how important it was.
The result?
It looked absolutely horrible.
But even worse than how it looked, it wasn’t safe.
Looking back now, I cringe at some of the mistakes I made. Thankfully, my dog was okay, and over the years I’ve learned so much through practice, education, and learning from professional groomers.
If you’re thinking about grooming your own doodle at home, I hope my mistakes help you avoid making the same ones.
Disclaimer: I’m sharing what I’ve learned through my own grooming journey and education. This article isn’t a substitute for veterinary advice or hands-on professional instruction. If your dog is severely matted, has skin problems, or becomes aggressive during grooming, it’s often safest to seek help from a professional groomer or your veterinarian.
Is DIY Grooming Right for You?
Learning to groom your own doodle can save money, strengthen your bond with your dog, and help you better understand coat care.
But it also requires patience.
There will be a learning curve.
Your first haircut probably won’t look like one from a professional grooming salon—and that’s okay.
The goal isn’t perfection.
The goal is keeping your dog clean, comfortable, and healthy.
Before You Pick Up the Clippers
One of the biggest turning points in my grooming journey was finally realizing I didn’t have to figure everything out on my own.
One creator who taught me an incredible amount is Go Groomer on YouTube.
Instead of simply showing a haircut, she explains why groomers do things a certain way. Those lessons completely changed how I approached grooming.
If you’re serious about learning, spend time watching experienced groomers before you ever turn on your clippers.
Learn Line Brushing Before You Learn Haircuts
If I could only teach every dog owner one grooming skill, it would be line brushing.
A properly line-brushed coat:
- Removes hidden tangles
- Prevents painful matting
- Makes clipping much easier
- Gives a smoother haircut
- Keeps your dog more comfortable
If you haven’t learned this technique yet, I highly recommend reading my complete guide:
What Is Line Brushing and Why Every Doodle Owner Should Learn It
Dirty Fur Doesn’t Groom Well
One of my biggest beginner mistakes was trying to clip a dirty coat.
Mats don’t magically come out of dirty fur.
Here’s a helpful rule of thumb:
- If water can penetrate the mat, it can usually be washed.
- If the mat is tight against the skin, don’t get it wet. Water causes tight mats to tighten even more, making them more painful and harder to remove.
When in doubt, don’t force clippers through severe mats. If you’re unsure what’s safest, ask a professional groomer for help.
The Bath Is Part of the Haircut
A great haircut starts in the tub.
My routine is simple:
- Shampoo once to remove surface dirt and oils.
- Shampoo a second time to thoroughly clean the coat.
- Condition once to help loosen the coat and make brushing easier.
Clean fur is easier on your equipment and gives you a much nicer finish.
Never Skip the Blow Dryer
This is something I never understood as a beginner.
Blow drying isn’t just about drying your dog.
It also:
- Straightens the coat.
- Fluffs the hair.
- Helps you find hidden mats.
- Makes skin problems easier to spot.
- Creates a smoother, more even haircut.
Air-dried coats rarely clip as nicely as properly dried coats.
How Do I Get My Dog Fluffy Like The Groomer?
Let the Coat Decide
One mistake I see beginners make all the time is trying to force a guard comb through tangled fur.
If your guard comb won’t glide through the coat:
- Stop.
- Brush the coat thoroughly.
- Comb through it to make sure it’s mat-free.
- If the guard comb still won’t go through, it’s time to either continue brushing or choose a shorter haircut.
Never force your clippers through mats.
Why Different Dog Coats Need Different Brushes
Clip With the Direction of Hair Growth
Clipping with the direction of the coat leaves more length and creates a smoother finish.
Clipping against the coat removes much more hair and leaves a much shorter haircut.
Neither method is wrong—you just need to understand the difference before you begin.
Safety Always Comes First
A beautiful haircut is never worth risking your dog’s safety.
Always remember to:
- Cut away from the eyes.
- Frequently check your blade temperature by touching it to your forearm if you’re clipping without a guard comb.
- Stop immediately if the blade feels too warm.
- Never rush around delicate areas.
- Take breaks if either you or your dog needs one.
Slow is safe.
How to Read Your Dog’s Body Language During Grooming (And Prevent Accidents Before They Happen)
Don’t Forget These Easy-to-Miss Areas
Some of the most common trouble spots include:
- Between the paw pads (packed mats here can become very painful)
- Between the toes
- Behind the ears
- Armpits
- Sanitary areas
- Inside the ears for excessive hair growth (when appropriate for your dog’s breed and ear health)
These little details make a big difference in your dog’s comfort.
The Hidden Spot Poodles Mat (That No One Talks About)
Know When to Stop
This may be the most important advice in this entire article.
You do not have to finish the groom today.
If you’re frustrated…
If your dog is stressed…
If you’re rushing…
If you’re tired…
Stop.
Take a break.
Most grooming accidents happen when someone keeps going after they’ve run out of patience.
Your dog would rather have an unfinished haircut than an injury.
Comfort and safety always come before appearance.
You Don’t Have to Become a Professional Groomer
You don’t have to groom like a professional.
Your goal isn’t to create a perfect show trim or a social-media-worthy haircut.
Your goal is to have a dog who is:
- Clean
- Comfortable
- Free of painful mats
- Healthy
- Happy
Every groom doesn’t have to be perfect.
Every groom just needs to improve your dog’s quality of life.
The more you practice, the more your confidence—and your grooming skills—will grow.
Ultimate Doodle Grooming Supply Guide: Everything Your Groomer Recommends
My Favorite DIY Grooming Tools
If you’ve made it this far, you’re probably serious about learning to groom your own doodle or poodle.
Over the years, I’ve upgraded from those inexpensive Walmart clippers to tools that make grooming easier, safer, and produce much better results. I’ve put together a list of the supplies I personally use and recommend to help you get started.
🛒 Browse my recommended grooming tools here:
As an Amazon Associate, I earn from qualifying purchases. This comes at no additional cost to you and helps support the free educational content on Shear Grace Grooming. Thank you for your support!
Final Thoughts
If your first groom doesn’t turn out the way you imagined, welcome to the club.
Mine certainly didn’t.
I was sitting on my kitchen floor with a pair of Walmart clippers, absolutely convinced I could figure it out as I went. Looking back, I laugh… but I also realize how unsafe some of my choices were.
Thankfully, every mistake taught me something.
Today, my hope is that this article helps make your first DIY groom safer, less stressful, and a little more successful than mine was.
Remember: your dog doesn’t care if the haircut is perfect. They care that you’re gentle, patient, and putting their comfort first.
Keep learning. Keep practicing. Don’t be afraid to ask questions. And one day, you’ll look back at your own first groom and be amazed at how far you’ve come.




Leave a Reply