If you’ve ever looked inside your poodle or doodle’s ear and seen a thick patch of hair—you’ve probably wondered…
“Am I supposed to remove that?”
The answer?
Sometimes yes. Sometimes no. And doing it the wrong way can cause more harm than good.
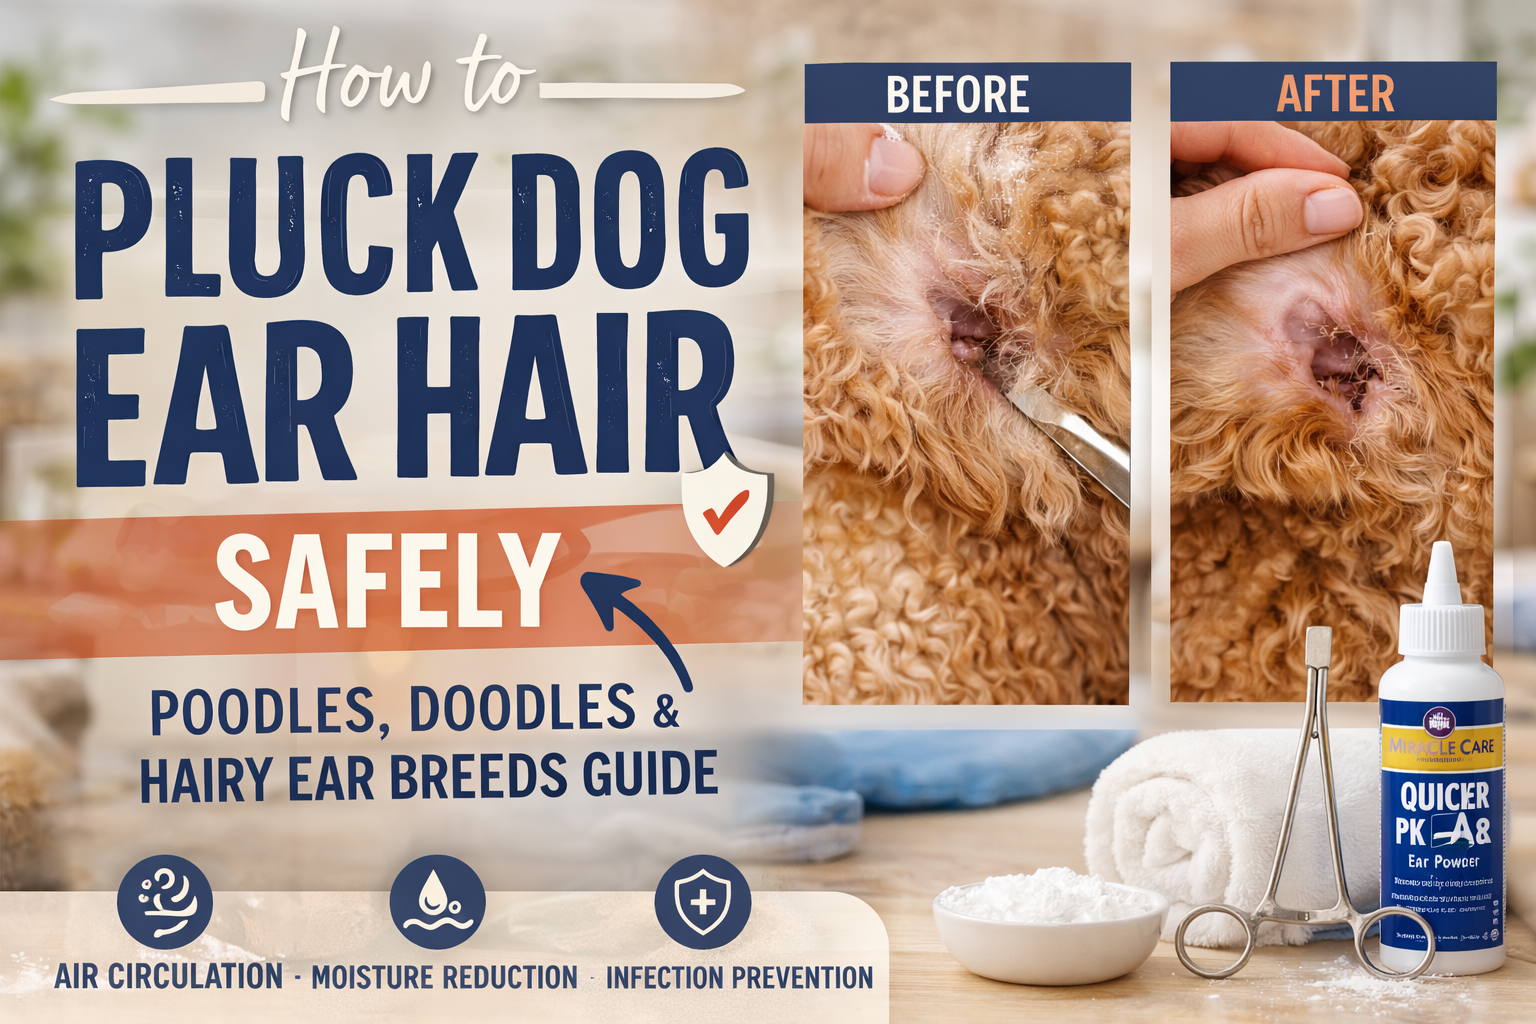
In this guide, I’ll walk you through exactly how to pluck dog ear hair safely, when it’s necessary, and how to avoid the most common mistakes.
Why Some Dogs Need Ear Hair Plucked
Breeds like poodles, doodles, and other “hairy ear canal” dogs grow dense hair inside the ear.
This can:
- Trap moisture
- Reduce airflow
- Lead to yeast and bacterial buildup
Removing excess hair (when appropriate) helps keep the ear dry, clean, and healthy.
⚠️ Before You Start: Should You Even Be Plucking?
Ear plucking is controversial in the grooming world for a reason.
👉 Before doing anything, read this first:
To Pluck or Not to Pluck Dog Ear Hair
Some dogs:
- Don’t need plucking at all
- Have sensitive ears that react poorly
- Do better with trimming instead
Never pluck inflamed or infected ears.
Signs Your Dog May Need Ear Hair Removed
- Thick hair blocking the ear canal
- Moisture getting trapped
- Recurring ear infections
- Groomer or vet recommendation
If the ear is already red, painful, or smells strong—stop and see a vet first.
Step-by-Step: How to Pluck Dog Ear Hair Safely
Step 1: Start With a Dry, Clean Ear
Never pluck wet ears.
Moisture increases irritation and makes hair harder to grip.
If needed, clean the ear first using this guide:
👉 Complete Ear Cleaning Routine for Poodles & Doodles
Step 2: Apply Ear Powder
Use a small amount of ear powder inside the ear canal.
This:
- Improves grip
- Reduces slipping
- Makes the process more comfortable
Recommended Affiliate Products:
Step 3: Use Your Fingers or Hemostats
You have two options:
Beginner-friendly:
- Use your fingers to gently grip small amounts of hair
I personally prefer to use my fingers while wearing gloves
Advanced:
- Use hemostats (only if you’re confident and careful)
Recommended Affiliate Products:
- Professional Grooming Hemostats (5.5” or 6.5”)
- Nitrile Exam Gloves, 100 Count Latex-Free Powder-Free
Step 4: Pull SMALL Amounts at a Time
This is where most people go wrong.
❌ Don’t grab a big chunk
✅ Take a few hairs at a time
Gently and quickly pull in the direction the hair grows.
Step 5: Watch Your Dog Closely
Your dog will tell you if something isn’t right.
Stop if you notice:
- Whining or pulling away
- Redness or irritation
- Sensitivity
This should not be a painful process when done correctly.
Step 6: Clean the Ear After Plucking
Once you’re done, follow up with a gentle ear cleaning to remove:
- Loose hair
- Powder residue
- Debris
👉 Follow this full routine here:
Complete Ear Cleaning Routine for Poodles & Doodles
Essential Tools for Safe Ear Plucking
Having the right tools makes a big difference.
Recommended Affiliate Products:
- Miracle Care Ear Powder (best overall grip)
- Bio-Groom Ear Flush (post-plucking clean)
- Cotton Rounds (gentle + effective)
- Hemostats for Grooming (for experienced users)
- Nitrile Exam Gloves, 100 Count Latex-Free Powder-Free (for those like me who don’t like dirty fingers)
How Often Should You Pluck Dog Ear Hair?
- Poodles & Doodles: Every 3–6 weeks (if needed)
- Light growth dogs: Occasionally or not at all
👉 Over-plucking can cause irritation and inflammation.
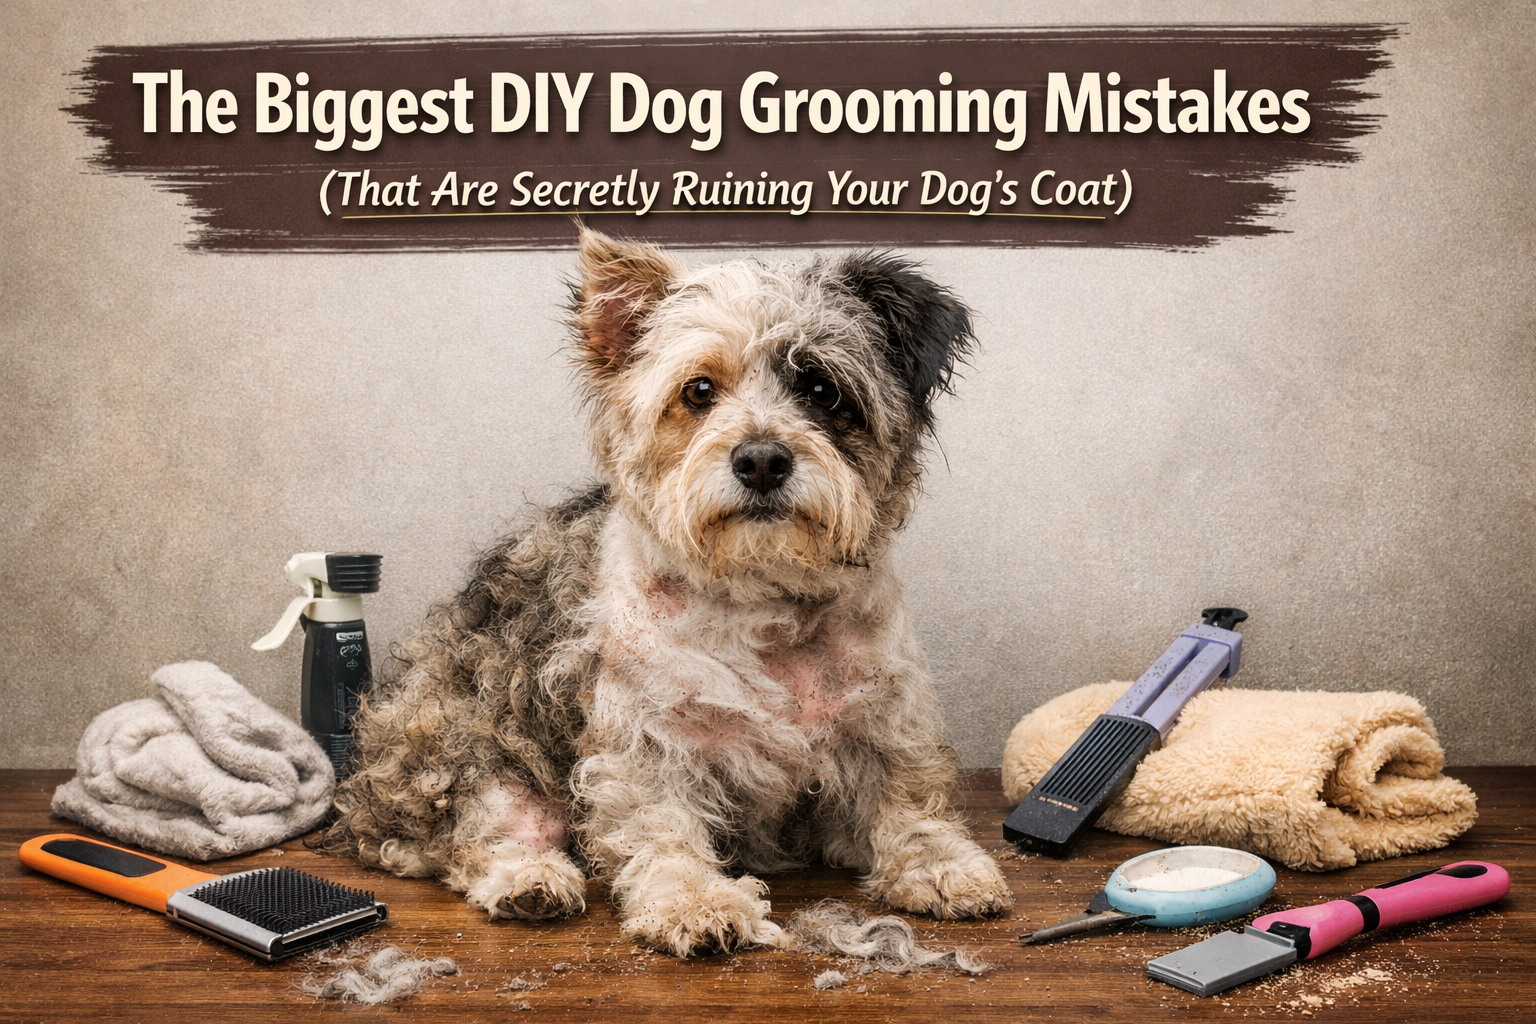
Common Mistakes to Avoid
- Plucking too much at once
- Plucking infected ears
- Skipping ear cleaning afterward
- Using force instead of gentle technique
- Doing it too frequently
When NOT to Pluck
Do NOT pluck if your dog has:
- Red, inflamed ears
- Active infection
- Sensitivity or pain
- History of irritation from plucking
In these cases, talk to your vet or groomer about alternatives.
Want the Full Grooming Routine?
Ear care is just one part of keeping your dog healthy and comfortable.
If you want a complete, step-by-step grooming system you can follow at home, check out my guide:
👉 Your Complete At-Home Dog Grooming Guide
Inside, I walk you through:
- Brushing & coat care
- Bathing properly
- Nail trimming
- Sanitary grooming
- And more
Final Thoughts
Ear plucking isn’t something to fear—but it does require the right approach.
Keep it:
- Gentle
- Minimal
- Consistent
And always pay attention to your dog’s comfort.
When done correctly, it can make a big difference in preventing ear issues—especially for poodles and doodles.
Affiliate Disclosure
📎This post may contain affiliate links. This means I may earn a small commission at no extra cost to you if you purchase through my links.
I only recommend products I trust and use in my own grooming routine.
Save This for Later 📌

If you’re unsure, start slow. You don’t need to master everything at once—you just need to do it safely.
And that alone puts you ahead of most dog owners.


Leave a Reply