If your dog constantly shakes their head, scratches their ears, or has that unmistakable “yeasty” smell—you’re not alone.
Poodles, doodles, and other dogs with hairy ear canals are especially prone to ear infections. And the truth is, most owners either:
- Don’t clean ears often enough
- Use the wrong products
- Or accidentally make things worse
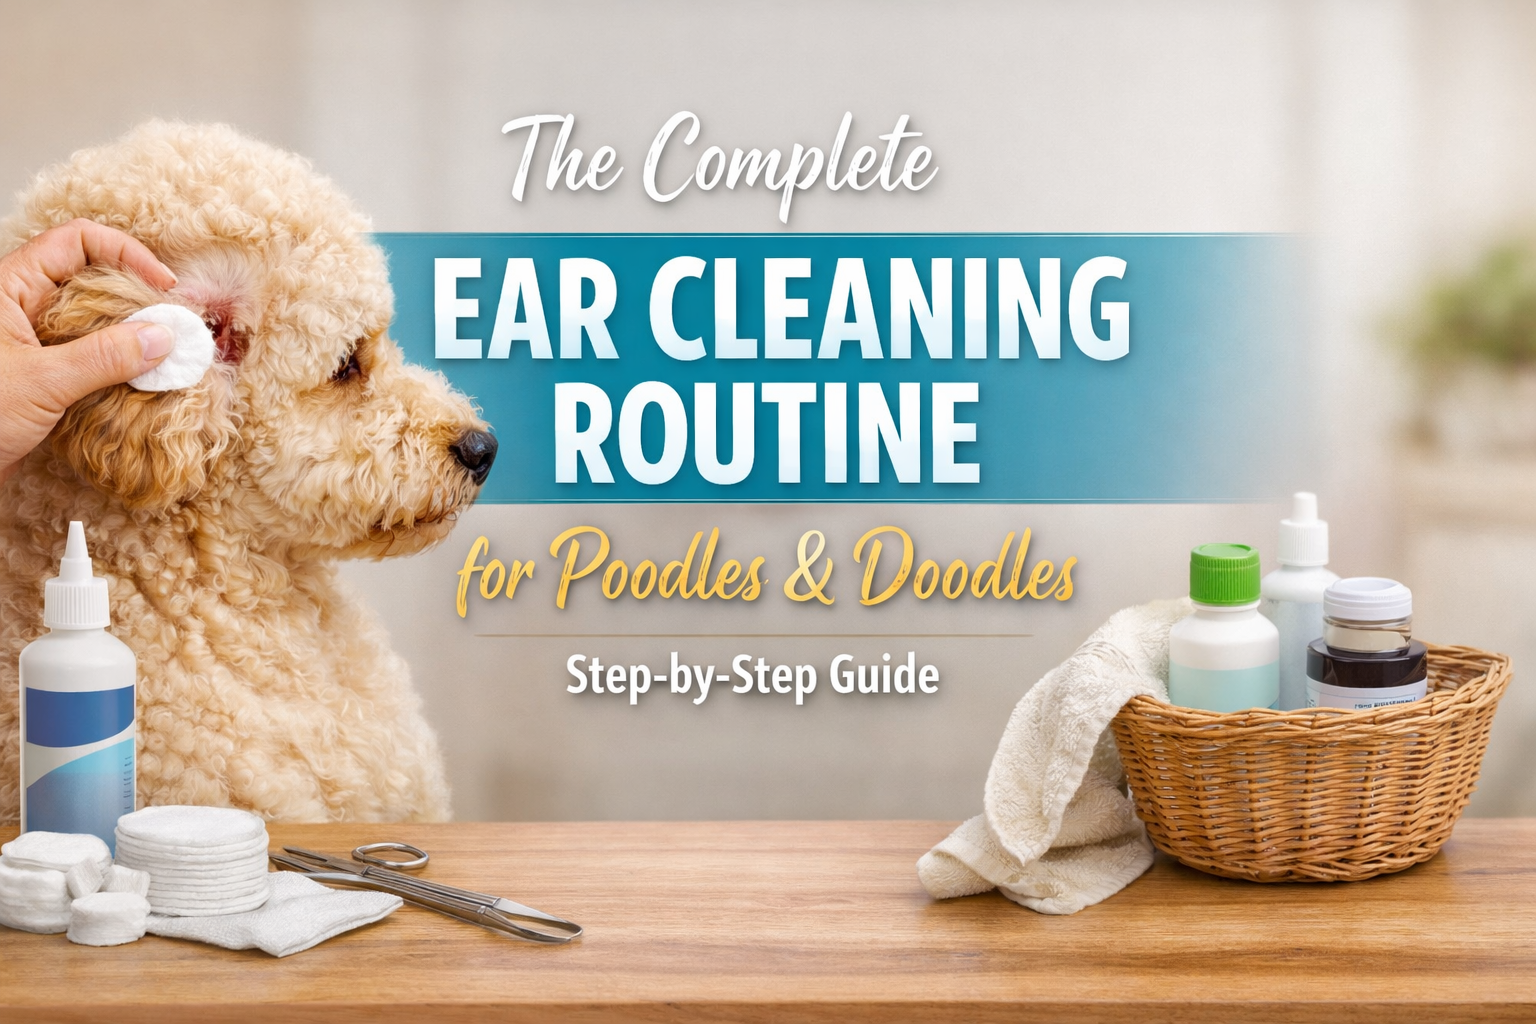
This guide will walk you through a safe, effective, groomer-approved ear cleaning routine you can confidently do at home.
Why Poodles & Doodles Need Special Ear Care
Unlike short-haired ear canals, breeds like poodles and doodles grow thick hair inside the ear.
That creates:
- Trapped moisture
- Poor airflow
- A perfect environment for yeast and bacteria
Left unmanaged, this can lead to chronic ear infections, discomfort, and expensive vet visits.
Signs Your Dog’s Ears Need Cleaning
Watch for:
- Head shaking
- Scratching at ears
- Brown, black, or yellow debris
- Strong odor
- Redness inside the ear
⚠️ If the ear looks swollen, painful, or has a strong foul smell, skip cleaning and contact your vet.
The Step-by-Step Ear Cleaning Routine
Step 1: Inspect the Ear
Lift the ear flap and look inside.
You’re checking for:
- Color (light pink is healthy)
- Debris buildup
- Odor
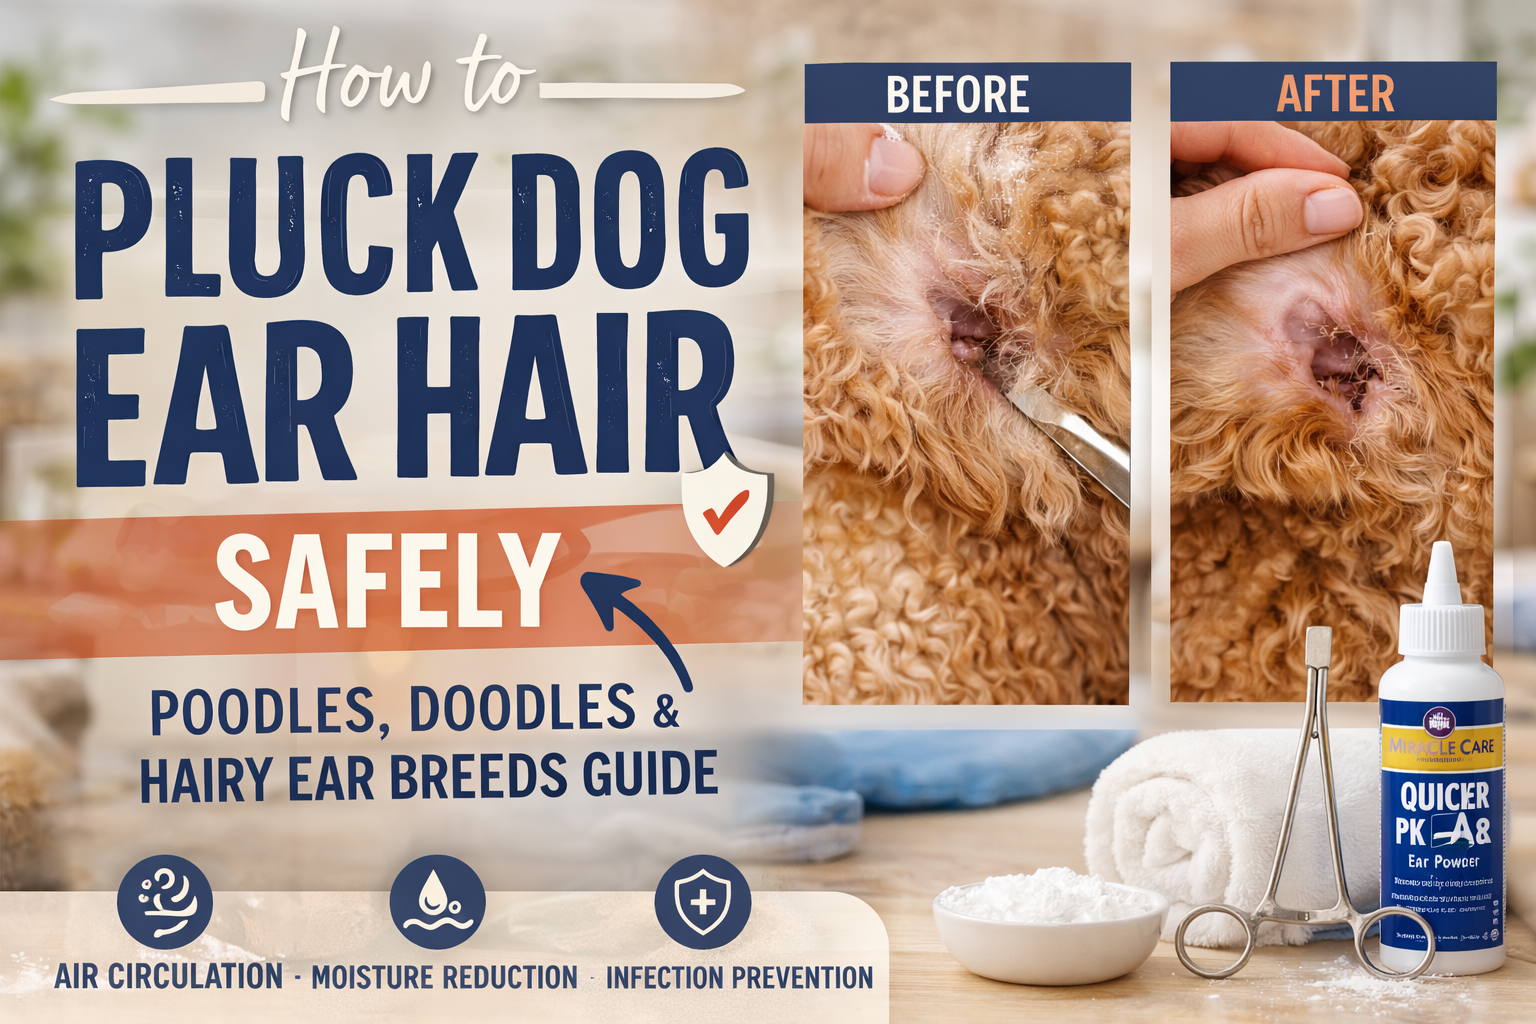
Step 2: Do You Need to Remove Ear Hair First?
Some dogs need excess ear hair removed to allow proper airflow and prevent moisture buildup.
👉 Learn exactly how to do this safely here:
How to Pluck Dog Ear Hair Safely (Poodles, Doodles & Hairy Ear Breeds Guide)
👉 Not sure if your dog even needs plucking? Start here:
To Pluck or Not to Pluck Dog Ear Hair
Skipping this step when needed can make cleaning far less effective.
Step 3: Apply Ear Cleaning Solution
Use a high-quality, vet-approved cleaner:
Recommended Affiliate Products:
Fill the ear canal (don’t be shy—this helps flush debris out).
Step 4: Massage the Ear
Gently massage the base of the ear for 20–30 seconds.
You should hear a “squishing” sound—that means it’s working.
Step 5: Let Your Dog Shake
Step back 😅
This helps bring debris up and out of the ear canal.
Step 6: Wipe Clean
Use:
- Cotton rounds (preferred)
- Gauze pads
Avoid Q-tips—they can push debris deeper.
Gently wipe out visible debris only.
Step 7: Dry the Ear
Moisture is the enemy.
If needed, use:
- A clean dry cotton pad
- Or a gentle ear drying solution
Essential Tools for Ear Care
Having the right tools makes this easier and safer.
Recommended Affiliate Products:
- Virbac Epi-Otic Advanced Ear Cleaner
- Zymox Ear Cleanser
- Curaseb Ear Flush (great for yeast-prone dogs)
- Cotton Rounds (soft + effective)
How Often Should You Clean Your Dog’s Ears?
- Poodles & Doodles: Once per week
- Mild buildup dogs: Every 2–3 weeks
- After swimming or baths: Always check and dry
Consistency prevents problems—don’t wait until there’s an issue.
Common Mistakes to Avoid
- Over-cleaning (can cause irritation)
- Using alcohol or hydrogen peroxide
- Skipping drying
- Ignoring early signs of infection
When NOT to Clean Your Dog’s Ears
Stop and consult a vet if you notice:
- Swelling
- Pain when touched
- Thick discharge
- Strong foul odor
Cleaning an infected ear without treatment can make it worse.
Want the Full Grooming Routine?
Ear care is just one piece of the puzzle.
If you want a complete, step-by-step grooming system you can follow at home, check out my guide:
👉 Your Complete At-Home Dog Grooming Guide
This walks you through everything—from brushing and bathing to nail trims and sanitation—so you can confidently care for your dog between grooming appointments.
Final Thoughts
Ear care doesn’t have to be intimidating.
Once you get into a routine, it becomes:
- Quick
- Easy
- And one of the best ways to prevent bigger health issues
Start simple. Stay consistent. And don’t ignore the early signs.
Affiliate Disclosure
📎This post may contain affiliate links. This means I may earn a small commission at no extra cost to you if you purchase through my links.
I only recommend products I trust and would use in my own grooming routine.
Save This for Later 📌

If you stay consistent with this routine, you’ll not only keep your dog comfortable—you’ll save yourself stress, vet bills, and guesswork.
And that’s the goal.


Leave a Reply